
I have spent more time than I care to admit playing The Doctor in Dead By Daylight, and I can tell you this: Herman Carter is one of the most satisfying killers to master once you understand his madness mechanic. He is not a pick-up-and-play killer like some of the simpler slashers in the roster. You need to learn his powers, his range, and how to mess with survivor heads. Even in 2026, The Doctor remains a high-skill, high-reward killer.
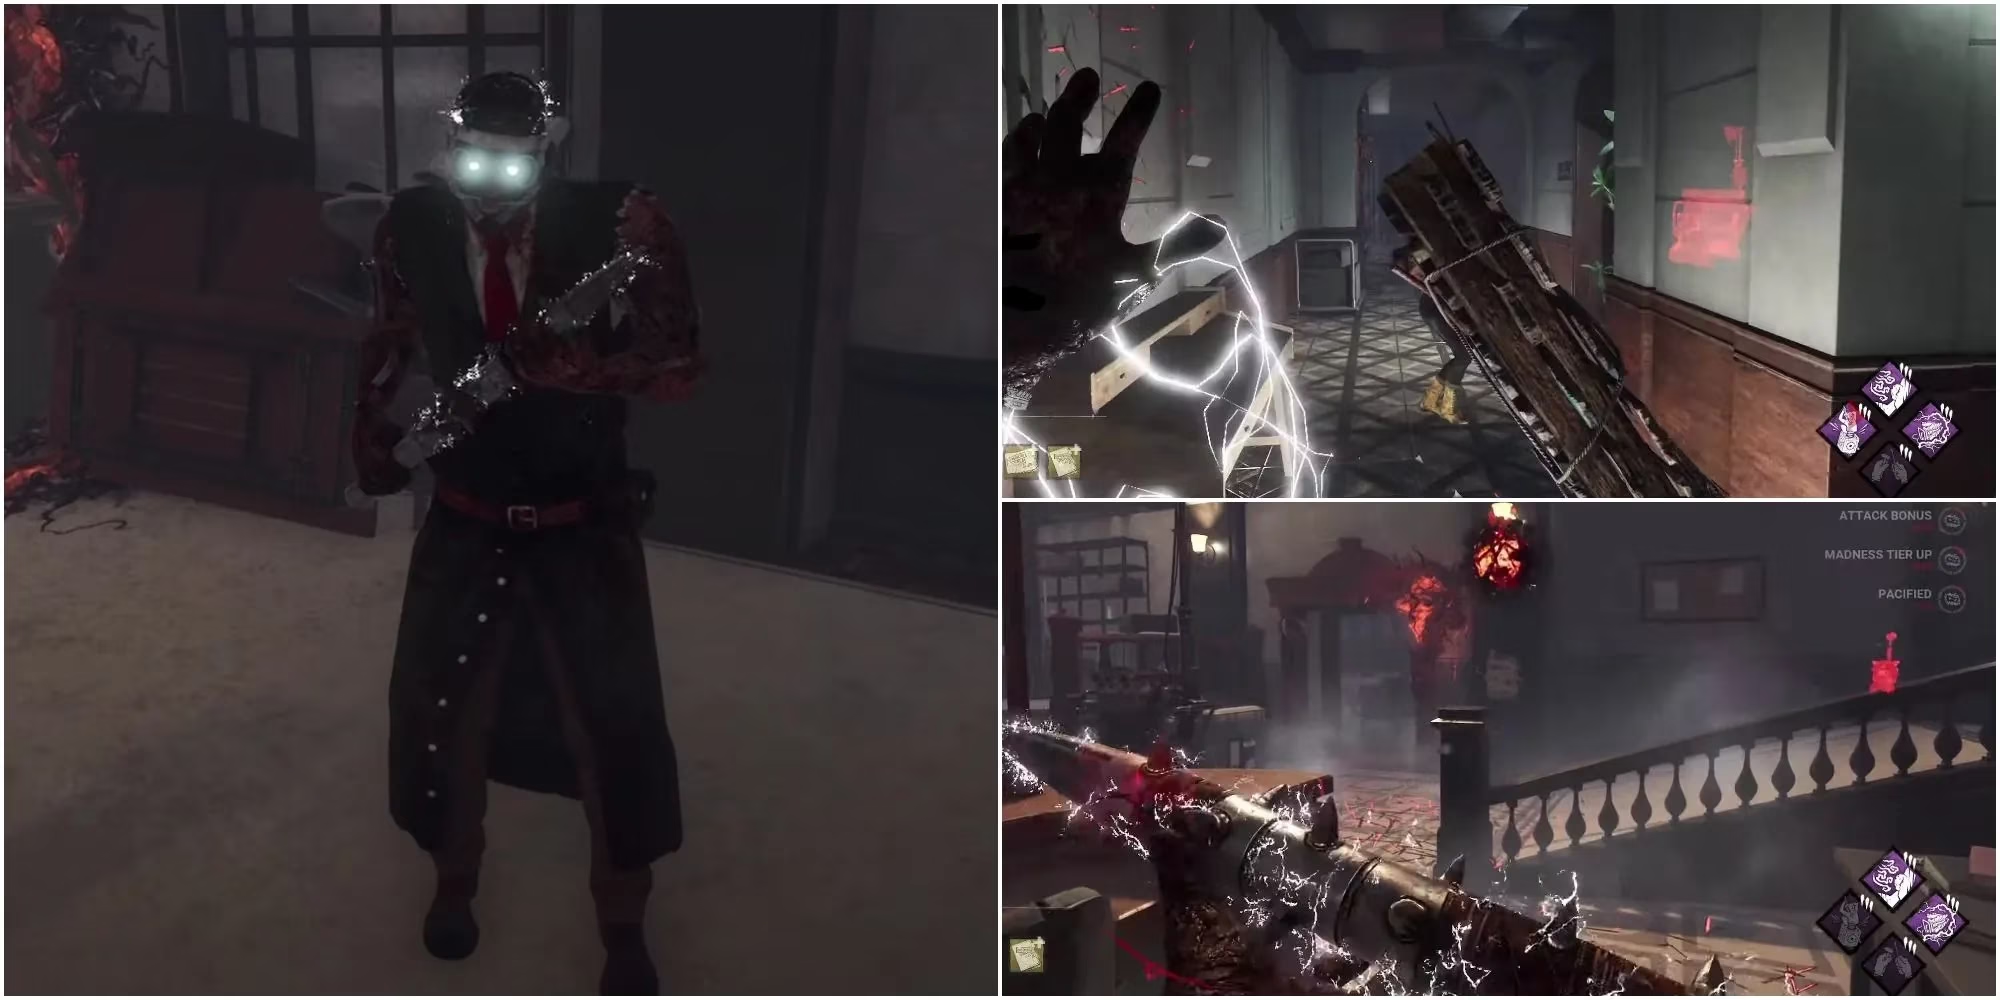
The first thing I always tell new Doctor players is to practice. A lot. He is ranked as a Hard Killer by the community for good reason. You can fall into the usual chase, hit, hook loop, but that only gets you so far. His kit rewards you for learning cooldowns, range, and timing. Once you have those down, you can start steamrolling teams.
Madness Is Your Best Friend
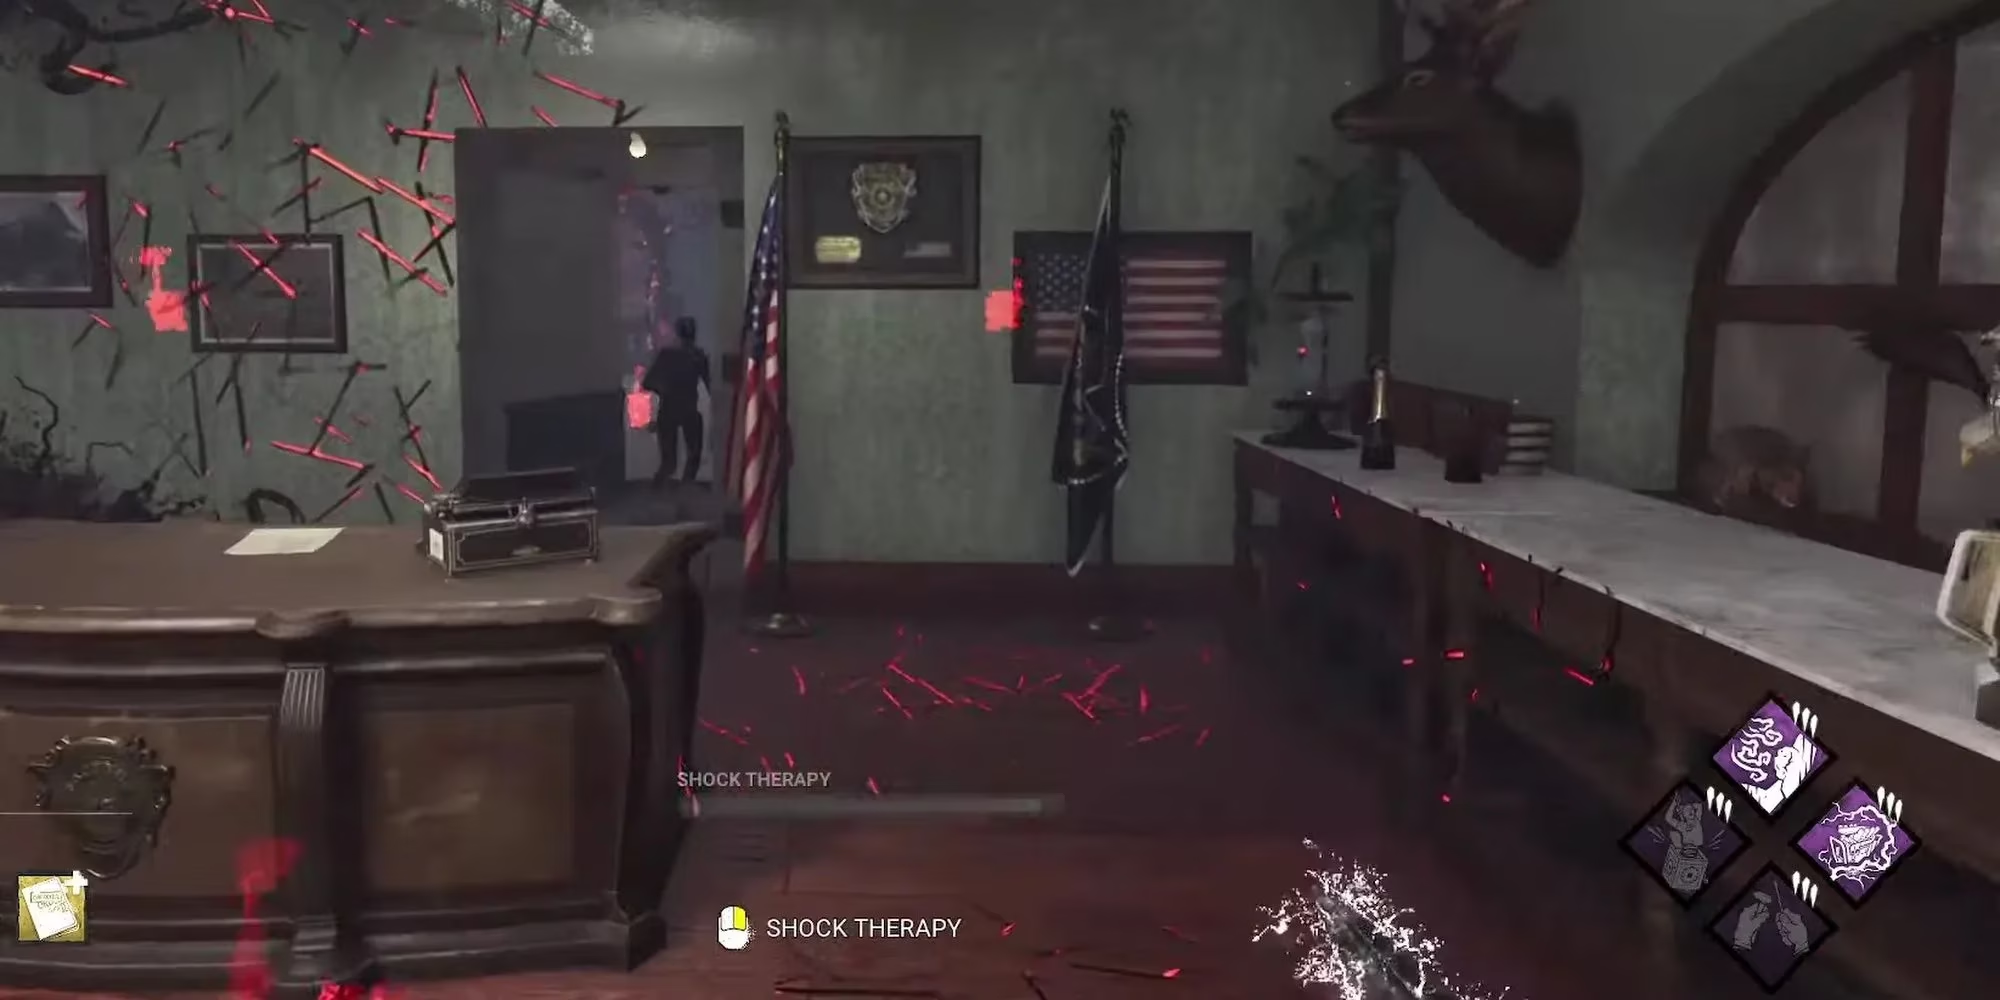
The Doctor's real power is how he distorts survivor perception. His abilities—Carter’s Spark, Shock Therapy, and Static Blast—inflict the Madness status effect. I honestly think this is one of the strongest debuffs in the game because it wrecks communication and map awareness.
 .jpg)
.jpg)
There are three madness tiers. Here is how I think about them:
| Tier | Effect | Survivor Limitations |
|---|---|---|
| 1 | Survivor screams, revealing location | None major |
| 2 | More frequent screams, illusionary Doctor appears | Confusion increases |
| 3 | Near-constant screams, vivid illusions, difficult skill checks | Survivors can only vault or drop pallets |
At tier three, survivors cannot repair generators, heal, cleanse totems, or do much of anything besides vaulting and dropping pallets. That is huge. If they fail the madness skill check, they drop back to tier one, which is why you need to keep reapplying pressure.
Play Aggressively
The Doctor gets better the more madness you spread. I always play him aggressively. His kit is built for chaos, and the more you lean into that, the harder it is for survivors to coordinate. Do not sit back and guard a three-gen all game. Get in their faces, shock them, force screams, and create noise.
Small Maps Are Your Playground
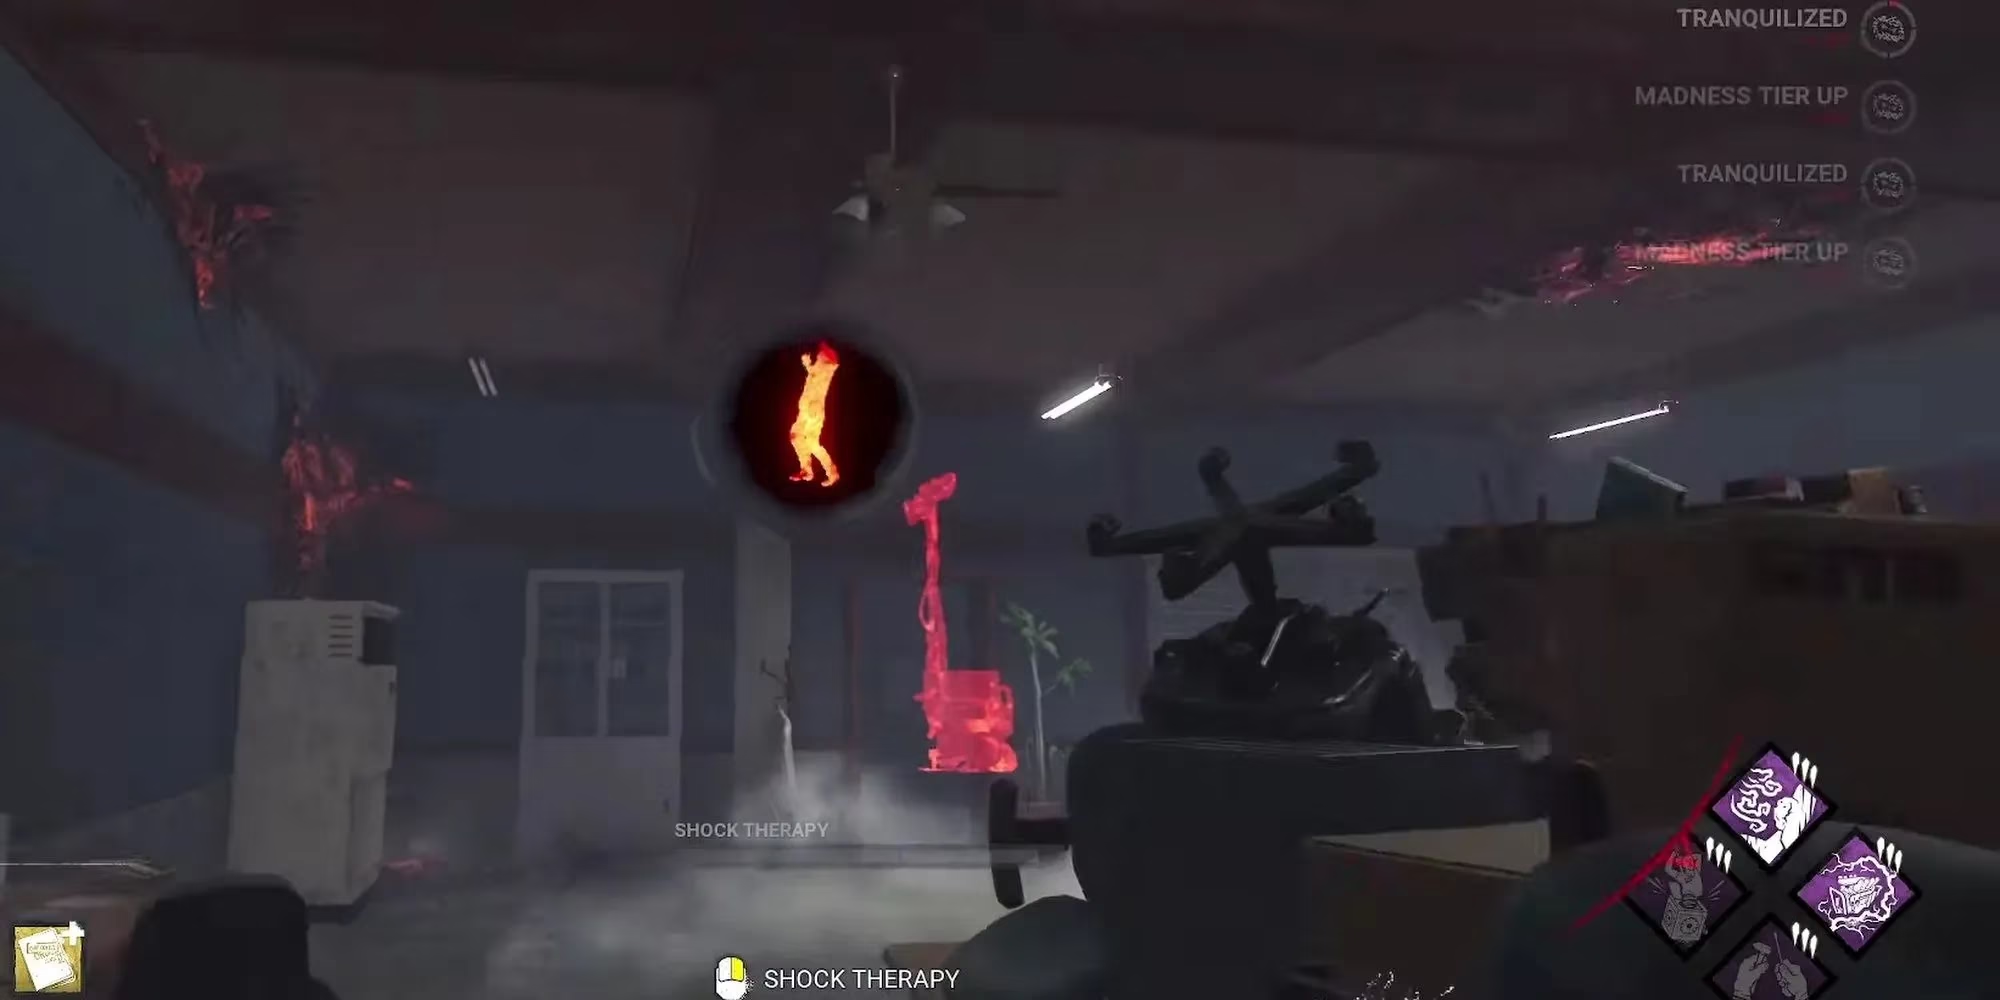
The Doctor performs well on most maps, but tight spaces are where he truly excels. His Shock Therapy has a wide area of effect, and cramped corridors or rooms let you hit multiple survivors at once. Midwich Elementary, the MacMillan Estate, and the Asylum are all fantastic for him. If you have map offerings, use them to force these locations.
Starting Perks Are Decent, But One Is Weak
His starting perks are not terrible. Overwhelming Presence makes survivor items deplete faster when they are near you, which hurts flashlights and medkits. Overcharge adds a difficult skill check to damaged generators and boosts regression. I like Overcharge in the early game, but Monitor and Abuse is the weak link. It shortens the range of Static Blast when you are not in a chase, which is not worth it unless you are constantly chasing.
Best Perks and Add-Ons
If I had to tweak his loadout, I would bring Whispers. It gives you audible cues when a survivor is within 32 meters at base level, or up to 48 meters when maxed. That is massive for finding people. Pop Goes the Weasel is a great replacement for Overcharge because it starts generator regression at 25 percent instead of Overcharge's small 5 percent. Thrilling Tremors is another favorite because it blocks generators that are not being repaired for 16 seconds after you pick someone up.
Add-ons can completely change how The Doctor plays. Here are a few I love:
-
Interview Tape: Changes Shock Therapy from an AOE into a directional beam.
-
Order-Class One: Replaces broken pallets with illusionary ones.
-
Iridescent Queen: Adds chain lightning to Static Shock, hitting survivors within four meters of each other.
-
Iridescent King: At tier three madness, creates illusionary terror radius and red stain behind survivors, and shows you auras of illusionary objects.
Shock Therapy Goes Through Obstacles
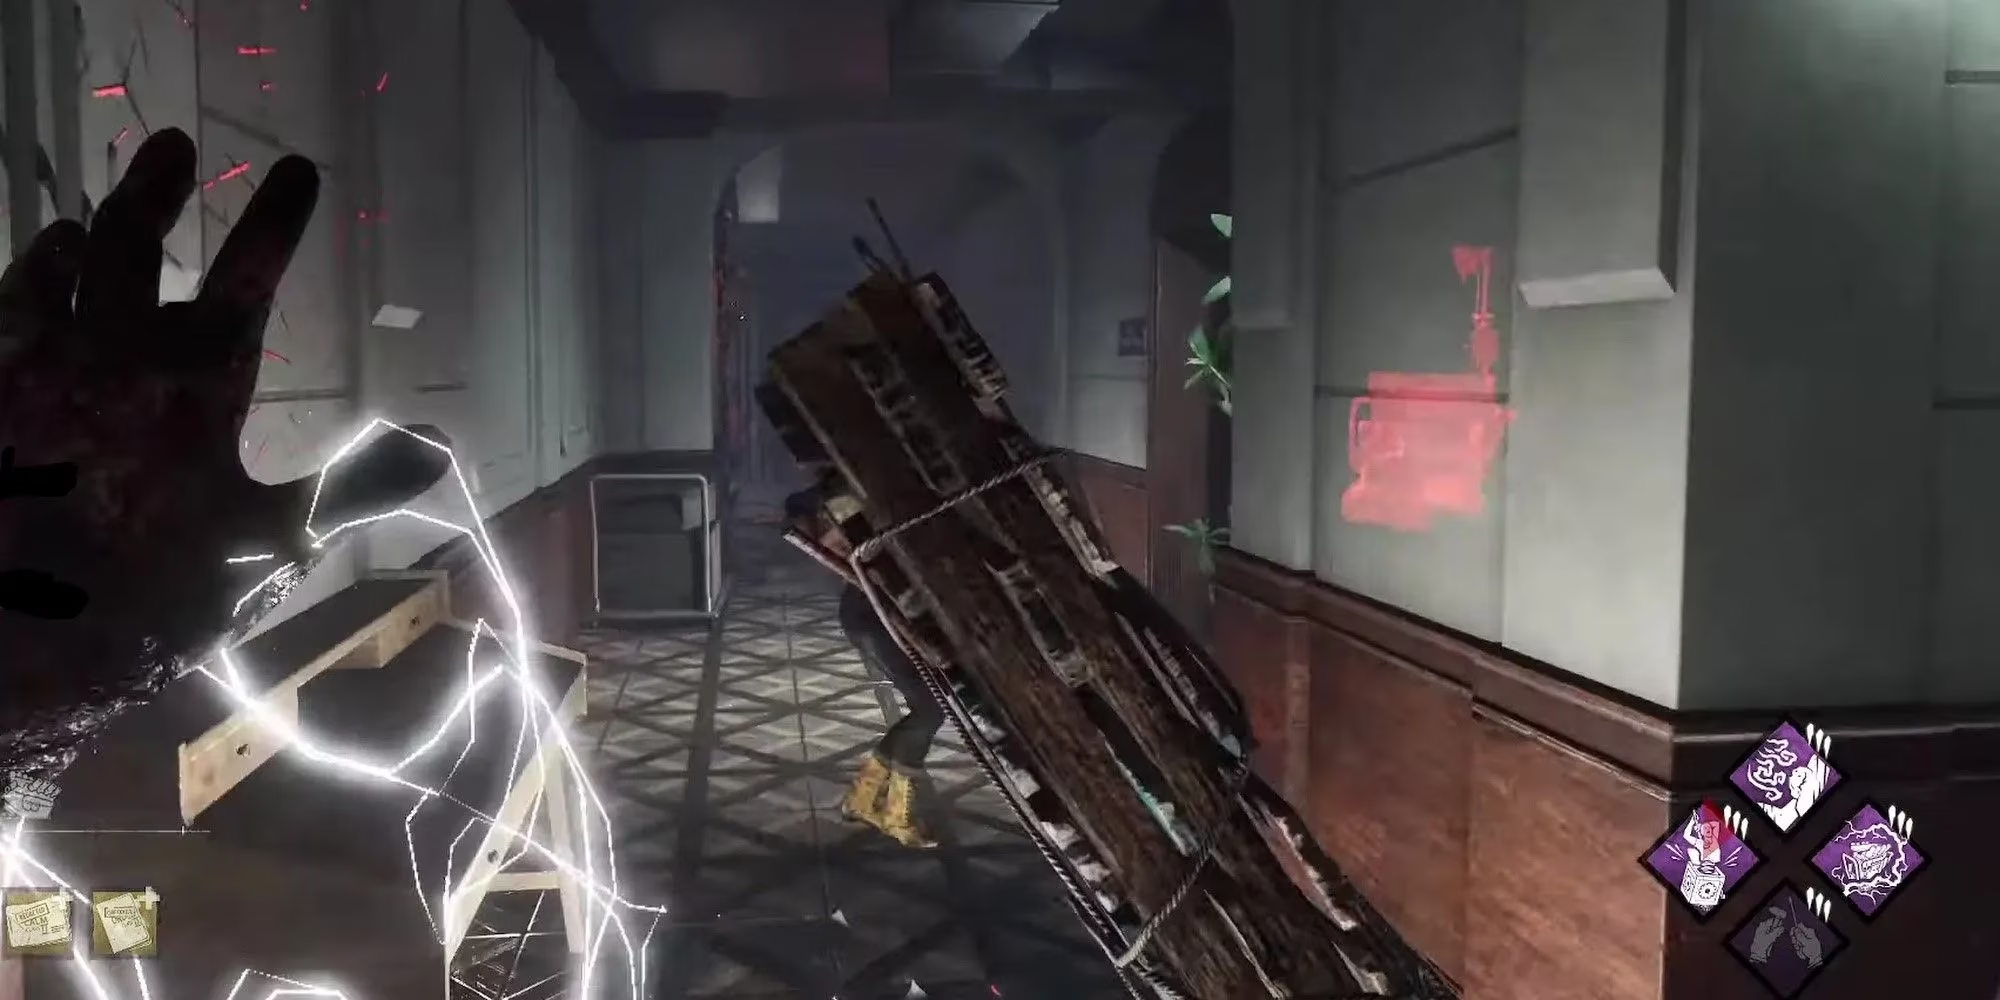
One of the best tricks I have learned is that Shock Therapy is not blocked by objects. It goes straight through pallets and windows. If a survivor is about to vault, you can shock them just before they do. The scream prevents them from vaulting, leaving them wide open for a basic attack. This is incredibly helpful in chases.
Do Not Forget the Stick
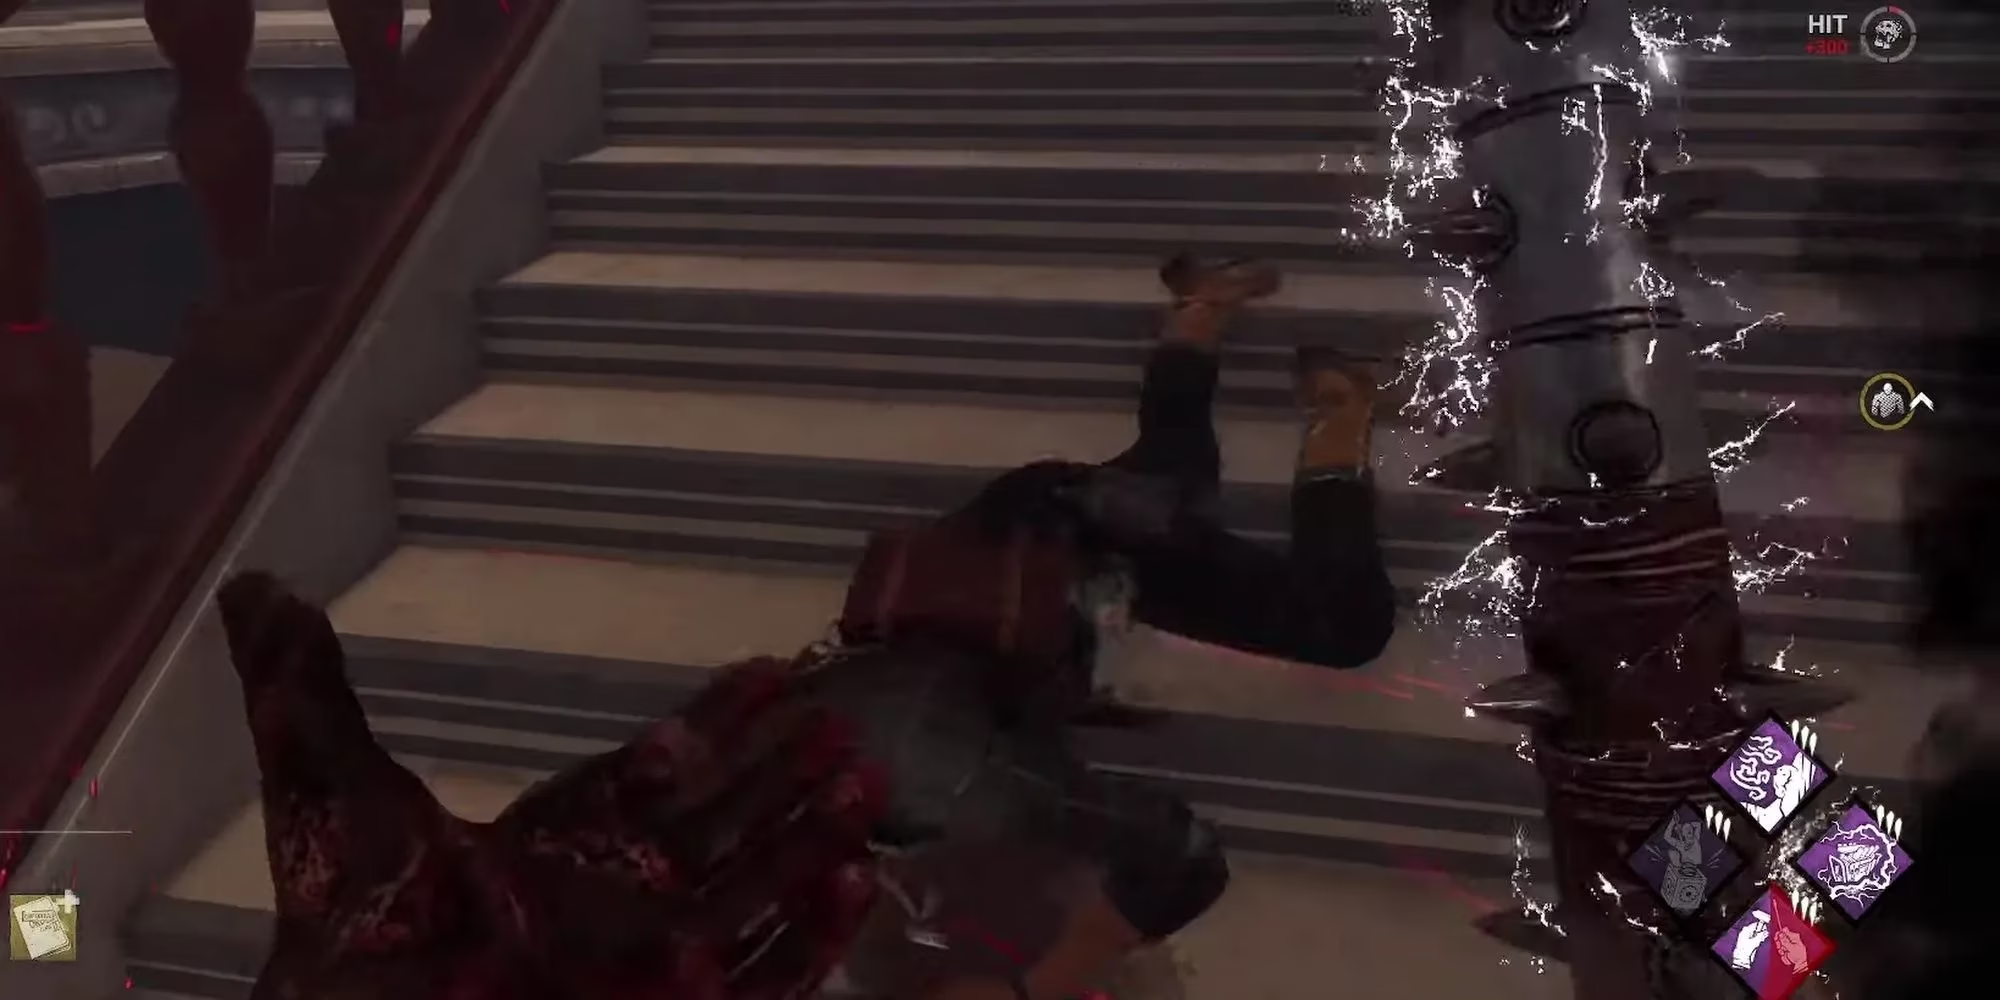
Sometimes the simplest option is the best. His spiky stick has a wide arc and a fast animation. If you are close enough, just swing. Using a power slows you down for a moment, and if you miss, the survivor escapes. I have learned that bonking someone on the head is often more reliable than getting fancy.
Pretend to Be an Illusion
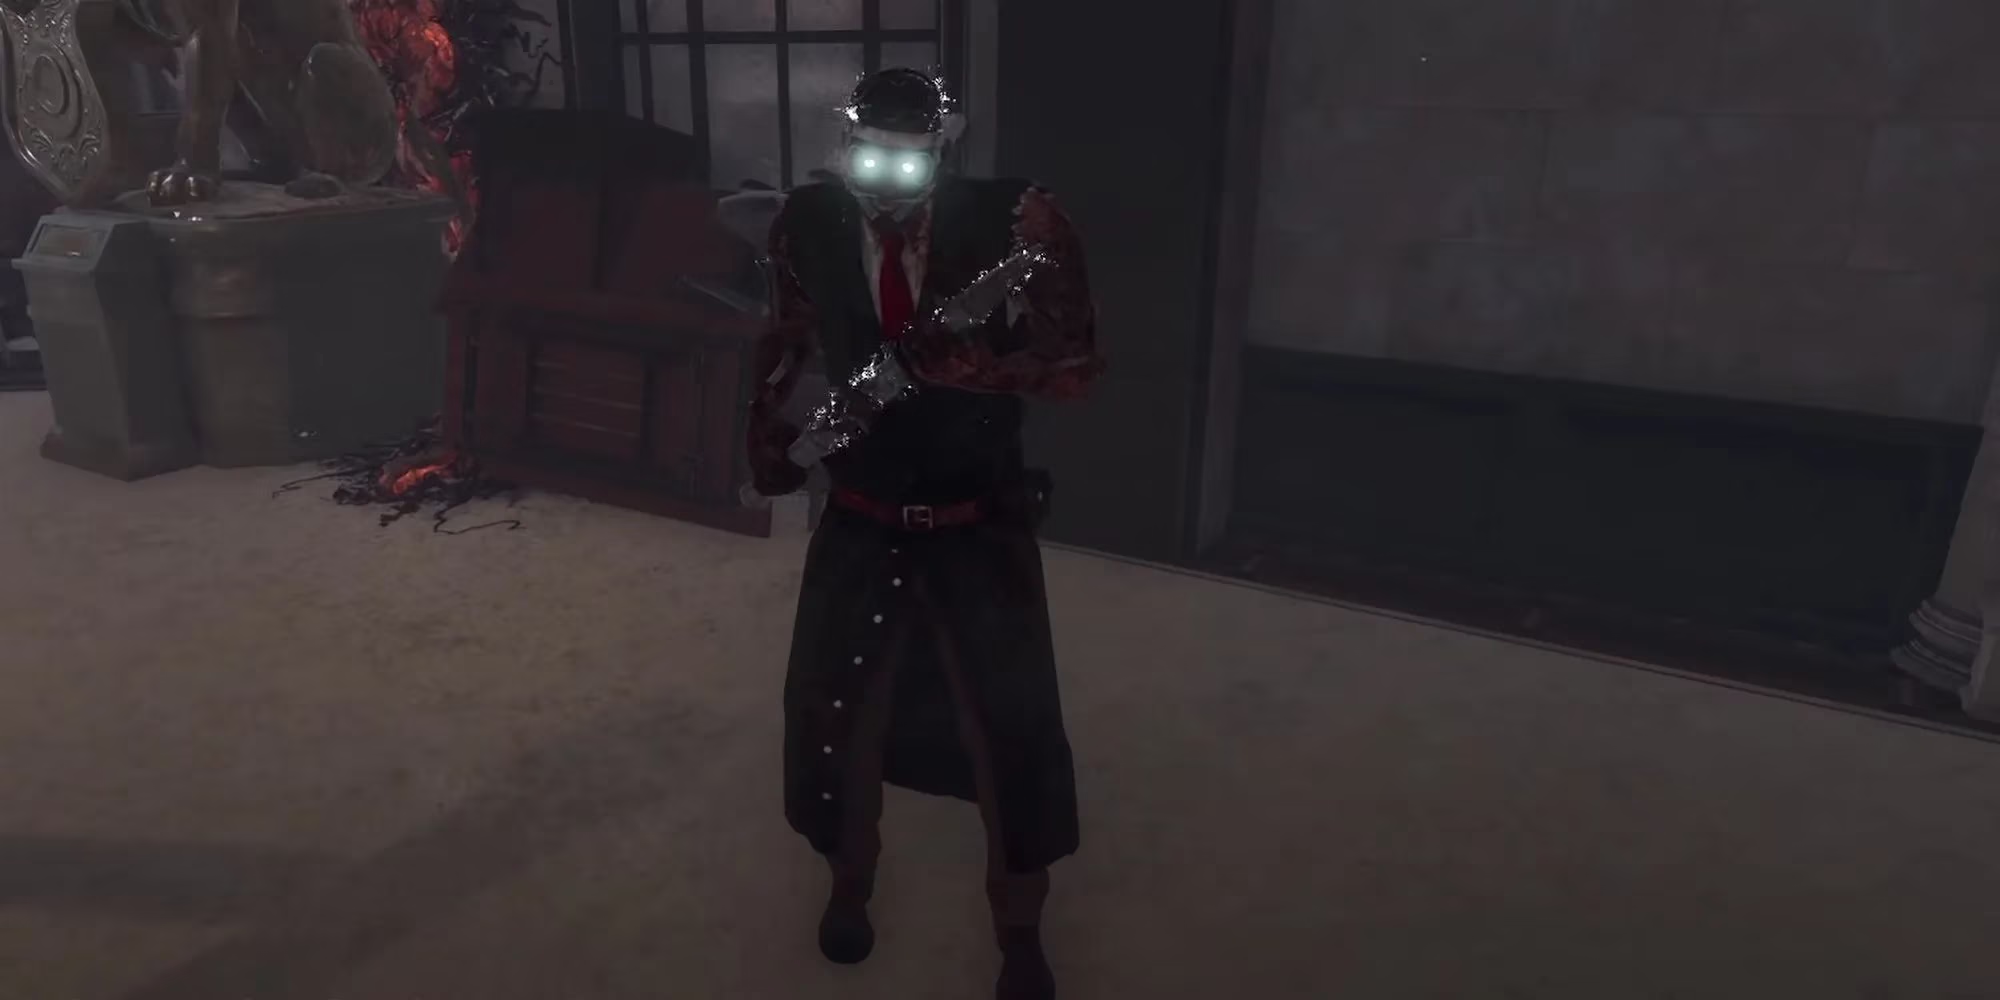
This is my favorite mind game. When someone is at maximum madness, stand still in a doorway or near a generator. Survivors cannot tell if you are real or an illusion. They may panic, or even better, ignore you. If they walk past you thinking you are a hallucination, you can ambush them or follow them to other survivors. Nearby players might see their teammate ignore you and assume you are fake as well. It is evil, and I love it.
Mastering The Doctor takes time, but once you understand madness, map control, and the weird illusion tricks, he becomes one of the most entertaining killers in Dead By Daylight. Stay aggressive, use small maps, and never stop shocking.
Leave a Comment